


実装しならメモしているので、もしかしたら何かしら漏れがあるかも🤔
気がついた場合はまた更新します!
「Google認証」編はこちら👇

目次
前提
- Next.js:プロジェクト作成済み
- Firebase : プロジェクト作成済み
- フォームのUI:実装済み
Firebase Authenticationでメール認証を実装していく
アプリ追加〜初期化まですでに実施済みの場合は、サインアップフォームを実装までスキップ🏃♀️💨
Firebaseでアプリを追加
プロジェクトの設定>全般タブ から「アプリの追加」をクリック。
下記は左から3つ目を選択。(今回はWebアプリなので)
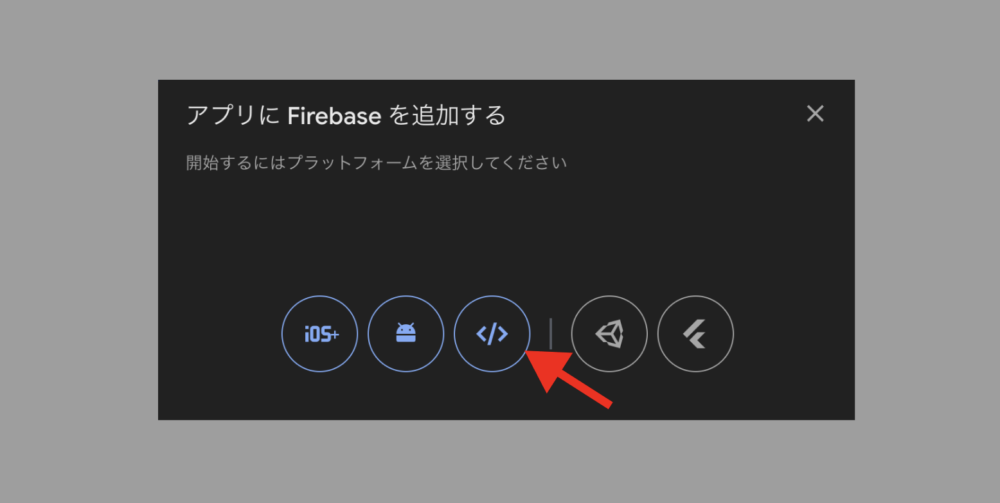
手順通りに進め、上記を実施。
※うろ覚えなので次回実施時に修正するかも。firebase init含めそれ以降は実施不要。
.env.localに必要情報を記述
上記を行うと下記の値が表示されるので.env.localに記述する
NEXT_PUBLIC_FIREBASE_API_KEY="xxxxxxx"
FIREBASE_AUTH_DOMAIN="xxxxxxx.firebaseapp.com"
FIREBASE_PROJECT_ID="xxxxxxx"
FIREBASE_STORAGE_BUCKET="xxxxxxx.firebasestorage.app"
FIREBASE_MEASUREMENT_ID="xxxxxxx"
FIREBASE_SENDER_ID="xxxxxxx"
FIREBASE_APP_ID="xxxxxxx"
FIREBASE_API_KEYだけ”NEXT_PUBLIC_”をつけている理由
クライアントサイドでAPI KEYの値が参照できず、下記エラーとなるため。
FirebaseError: Firebase: Error (auth/invalid-api-key).✍️その他の変数も、クライアントサイドで利用する場合は適宜NEXT_PUBLIC_を付与する。
✍️ただしNEXT_PUBLIC_ をつけた環境変数はクライアント (ブラウザ) にも送信され、誰でも見れる状態になる。機密情報 (APIキーやDB接続情報など) を含む環境変数には使わないこと。
Firebase を初期化する
service/firebase.js
import { initializeApp } from 'firebase/app';
import { getAuth, signInWithPopup, GoogleAuthProvider, signOut } from "firebase/auth";
import { getFirestore } from 'firebase/firestore';
const firebaseConfig = {
apiKey: process.env.NEXT_PUBLIC_FIREBASE_API_KEY,
authDomain: process.env.NEXT_PUBLIC_FIREBASE_AUTH_DOMAIN,
projectId: process.env.NEXT_PUBLIC_FIREBASE_PROJECT_ID,
storageBucket: process.env.NEXT_PUBLIC_FIREBASE_STORAGE_BUCKET,
messagingSenderId: process.env.NEXT_PUBLIC_FIREBASE_SENDER_ID,
appId: process.env.NEXT_PUBLIC_FIREBASE_APP_ID,
measurementId: process.env.NEXT_PUBLIC_FIREBASE_MEASUREMENT_ID,
};
// Initialize Firebase
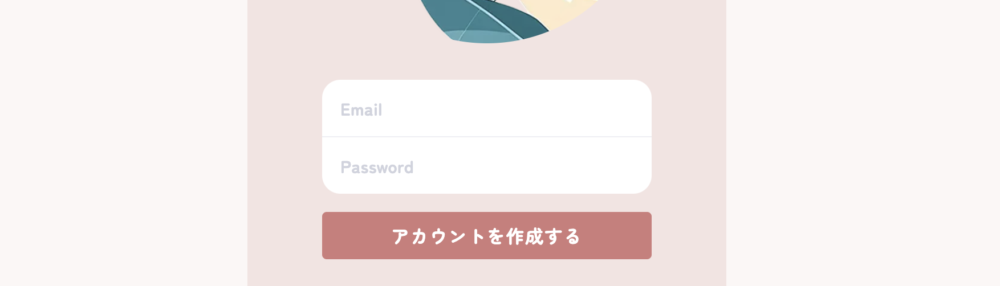
const app = initializeApp(firebaseConfig);サインアップフォームを実装
ポイントはこの辺👇
- react-toastify を利用し、アカウント作成時のエラー表示や、確認メールを送信した通知を行っている
- useStateを使って入力された値(メールアドレス、パスワード)を保持する
createUserWithEmailAndPasswordでauth,email,passwordをパラメータに持たせることでユーザ登録ができる- sendEmailVerification(userCredential.user) で確認メールが送信される
catch(e: any) {以降ではFirebaseから返されたエラーコードを日本語化している
"use client"
import { ToastContainer, toast } from 'react-toastify';
import { auth } from "@/service/firebase";
import Link from "next/link"
import { useState } from "react";
import { createUserWithEmailAndPassword, sendEmailVerification } from 'firebase/auth';

function Form() {
    const [email, setEmail] = useState("");
    const [password, setPassword] = useState("");
    const handleSignUp = async (e: React.FormEvent<HTMLFormElement>) => {
        e.preventDefault();
        try{
            await createUserWithEmailAndPassword(
            auth,
            email,
            password
            )
            .then((userCredential) => {
                const user = userCredential.user;
                sendEmailVerification(user);
            })
            setEmail('')
            setPassword('')
            toast.success( "確認メールを送信しました!" , {
                position: 'bottom-right',
            });
        } catch(e: any) {
            let error;
            if( e.code === "auth/password-does-not-meet-requirements" ){
                error = "パスワードが無効です。「8文字以上の英数字+記号」を設定してください";
            }else if( e.code = "auth/invalid-email" ){
                error = "すでに登録されている、あるいは無効なメールアドレスです";
            }else{
                error = "エラーが発生しました";
            }
            console.log(e.code)
            toast.error( error , {
                position: 'bottom-right',
            });
        }
    };

  return (
    <form onSubmit={handleSignUp}>
        <input
        type="email"
        value={email}
        onChange={(e) => setEmail(e.target.value)}
        />
        <input
        type="password"
        value={password}
        onChange={(e) => setPassword(e.target.value)}
        />
        <ToastContainer />
        <button type={'submit'} className='login-form-send'>アカウントを作成する</button>
    </form>
  )
}

export default Form参考:https://firebase.google.com/docs/auth/web/start?hl=ja#sign_up_new_users
ログインフォームを実装
サインアップ(アカウント登録)完了後、ログインするフォームの実装。
ポイントはサインアップとほぼ同じだが、ログインの場合は signInWithEmailAndPassword を利用する
またログインの場合は、 useRouter を使ってログイン完了後にダッシュボードに遷移させている。
"use client"
import { auth } from '@/service/firebase';
import { signInWithEmailAndPassword } from 'firebase/auth';
import { useRouter } from 'next/navigation';
import { useState } from 'react'
import { toast, ToastContainer } from 'react-toastify';

function LoginForm() {
    const [email, setEmail] = useState("");
    const [password, setPassword] = useState("");
    const router = useRouter();

    const handleLogin = async (e: React.FormEvent<HTMLFormElement>) => {
        e.preventDefault();
        try{
            await signInWithEmailAndPassword(auth, email, password)
            setEmail('')
            setPassword('')
            router.push("/dashboard"); // 登録後にダッシュボードへ遷移
        } catch(e: any) {
            let error = "エラーが発生しました";
            if( e.code === "auth/invalid-credential" ){
                error = "認証エラー。メールアドレスまたはパスワードが間違っています";
            }else if( e.code = "auth/invalid-email" ){
                error = "メールアドレスが間違っています";
            }else{
                error = "エラーが発生しました";
            }
            console.log(e.code)
            toast.error( error , {
                position: 'bottom-right',
            });
        }
    }
  return (
    <form onSubmit={handleLogin} className='login-form'>
        <input
        type="email"
        value={email}
        onChange={(e)=> setEmail(e.target.value)}
        />
        <input
        type="password"
        value={password}
        onChange={(e)=> setPassword(e.target.value)}
        />
        <ToastContainer />
        <button type={'submit'} className='login-form-send'>ログイン</button>
    </form>
  )
}

export default LoginForm参考:https://firebase.google.com/docs/auth/web/start?hl=ja#sign_in_existing_users
ログイン・ログアウト状態を判定し、表示分けをする
context/AuthContext.tsx を作成
"use client";
import { createContext, useContext, useEffect, useState } from "react";
import { onAuthStateChanged, User } from "firebase/auth";
import { auth } from "@/service/firebase";

const AuthContext = createContext<{ user: User | null }>({ user: null });

export function AuthProvider({ children }: { children: React.ReactNode }) {
  const [user, setUser] = useState<User | null>(null);

  useEffect(() => {
    const unsubscribe = onAuthStateChanged(auth, (user) => {
      setUser(user);
    });

    return () => unsubscribe();
  }, []);

  return <AuthContext.Provider value={{ user }}>{children}</AuthContext.Provider>;
}

export function useAuth() {
  return useContext(AuthContext);
}
全体で↑を利用できるようにする。
下記では、「ログインしているかどうかでクラスの付け替え(containerClassName)」も合わせて実施している。
"use client"
import { AuthProvider, useAuth } from '@/context/AuthContext';
import React, { ReactNode, useEffect } from 'react'

function LayoutContent({ children }: { children: ReactNode }) {
  const { user } = useAuth();
  const isLoggedIn = user !== null;
  const containerClassName = isLoggedIn ? "login" : "logout";

  return (
    <div className={containerClassName}>
      {children}
    </div>
  );
}

function AsyncLayout({ children }: { children: ReactNode }) {
  return (
    <AuthProvider>
      <LayoutContent>{children}</LayoutContent>
    </AuthProvider>
  );
}
export default AsyncLayout参考:https://firebase.google.com/docs/auth/web/manage-users?hl=ja#get_the_currently_signed-in_user
今のところこんな感じでうまく行っています🤔
検討中
認証メール送信後の導線
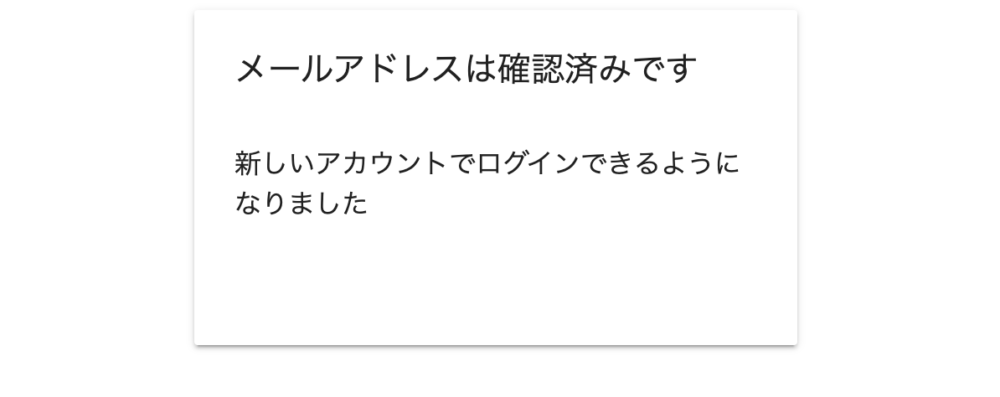
確認メールのメール内容は編集不可。
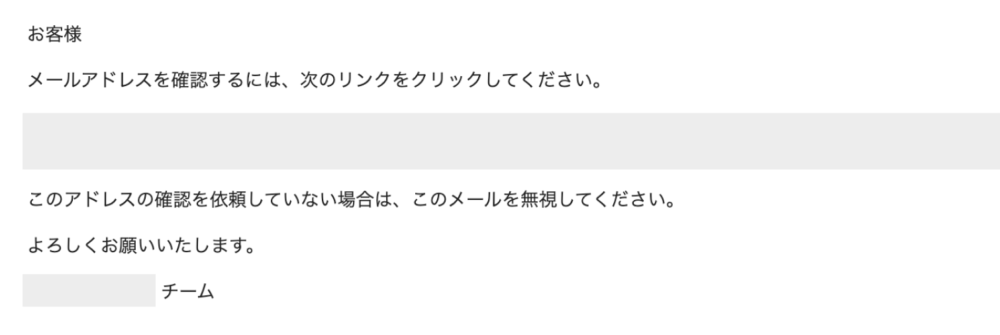
また、下記のリンククリック後の画面も変更できないので、認証後アプリに戻ってもらう導線がなくてどうしようか迷い中です🤔
(あとで読む)メール検証のカスタマイズで参考になりそうだった記事👇
参考:Firebase Authで登録,サインインやemail検証のカスタマイズをする場合の実装
